Creating a new guide contract
Guides can be reserved as standalone-services or they can be attached
to groups and escorted tours as staff.
Guides that are reserved as a stand-alone services can be reserved as
a walking tour or they can accompany passengers in a vehicle. Walking
tour guides are priced on a per-day basis. Guides that accompany the passengers
in a vehicle are priced on a min-max basis per day. The customers choose
between different vehicle sizes according to their needs.
Guides that are attached to groups and escorted tours are priced on
a per day basis. In the price list, you will have three price levels -
Full Day, Half
Day and Transfer. By using
these price level names, when creating a calculation
sheet, in the Itinerary tab,
you can view the total number of full days, half days and transfers, the
guide is reserved for.
Guides are categorized according to language, allowing you to search
for guides in a specific language in Products
- Contracts. You can also view the guide language, in the Reservations
System, in the search results and Guide
Details page.
With escorted tours, if the guide is added as an individual service,
in the individual travel file the guide is created as a standard transaction.
If the guide is added to the itinerary, in the group travel file, the
guide is created as a net-transaction.
Mandatory requirements
Supplier
account: The reserving supplier, service
provider and the supplier paid are the same account.
Destination:
The guide destination.
Category:
The guide language.
Optional requirements
Service
attribute: If you are working with sub-services, you can use the
service attribute to create a guide sub-service.
Markets:
Markets are used to define different rates for separate groups of
travel agents or customers. With guides the selling price is usually
the same for everyone so you will not need to create any markets.
However, you may have guides that offer a reduced price to travel
agencies that produce a high volume of business, and for those travel
agencies you will need to create a separate market. For example, the
ABC Travel Group offers the
guide a high volume of business, and therefore is entitled to receive
a 20% discount. In the contract, you need to define two markets: the
default market all in which
the supplier price per day is 100 USD, and the ABC
Travel Group market in which the supplier price per day
is 80 USD. You can define the markets in advance, or create
them when creating the contract.
Season:
The validity of the contract. You can create the season in advance,
or create it when creating the contract.
Price levels:
You will have a price level for each reservation length: Full
Day, Half day. If you
are working with calculation sheets,
you need to create the Full Day,
Half Day and Transfer
price levels because in the Itinerary
tab of the calculation sheet you can view the sum total of the number
of full days, half days, and transfers in the itinerary. You
can create the price level in advance, or create it when creating
the contract.
Price components:
With guides for individuals that accompany the passengers in a vehicle,
you will need to create different main price components for each vehicle
size. With guides that offer walking tours and guides for groups,
you will have a single main price component, which is the guide's
salary. Supplements for guide services can be additional hours, additional
KM, tolls, and expenses. The supplements can be quantified.
Go to Products
- Contracts.
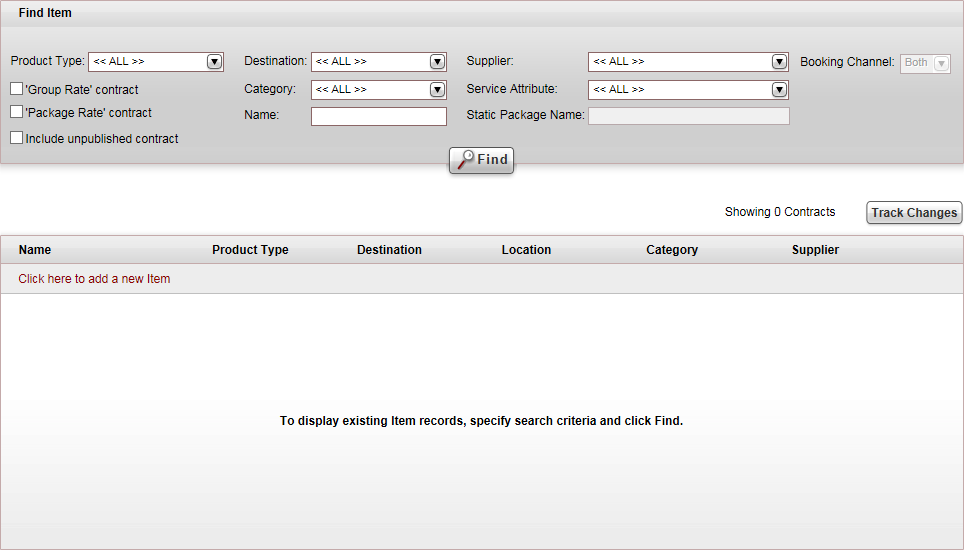
Click Click here
to add a new item, and select New
Guide.
A new item page opens in
the Guide tab.
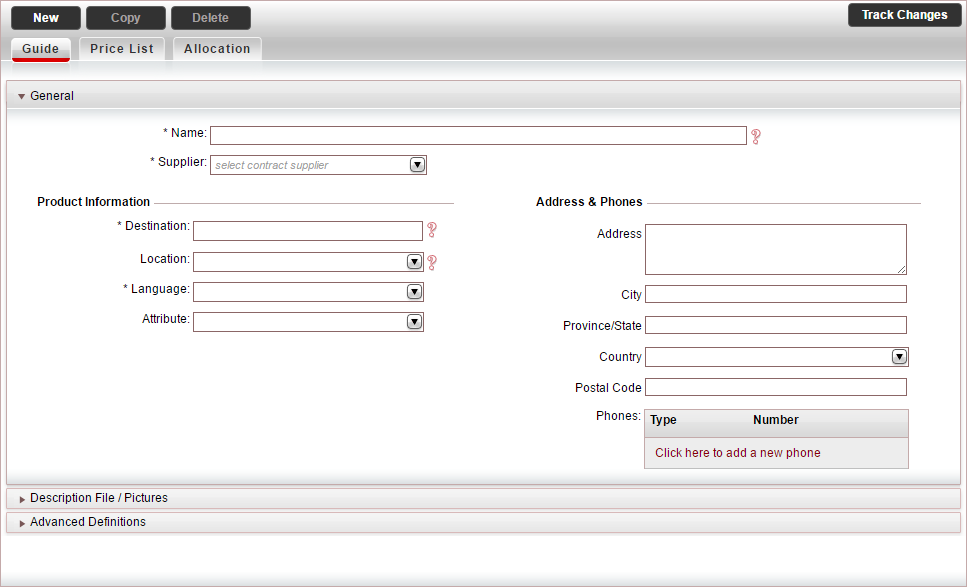
In the General
expander:
Mandatory.
In the Name field,
enter the name of the guide contract.
Mandatory.
In the Supplier field,
select the supplier account.
In the Product
Information section:
Mandatory.
In the Destination field,
enter the guide destination.
If relevant, in the Location
field, select the guide location.
In the Language
field, select the guide language, which is the category associated
with the guide contract.
In the Attribute
field, select the guide service attribute.
In the Address
& Phones section, enter the guide's contact information.
This information is displayed on vouchers issued to the service
provider.
Select the Description
File/Pictures expander:
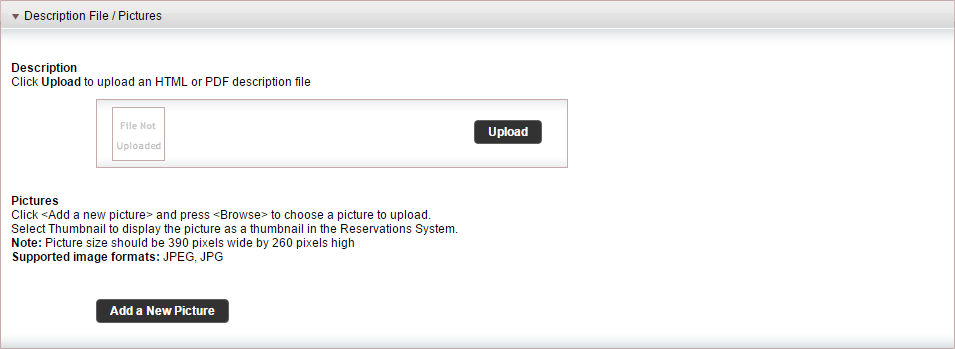
To upload an HTML or PDF description file, that
can be viewed in the Reservations System, in the Guide
Details page, in the Description
section:

|
In the travel file, in the travel file header, if you
click the Print
button, and select Send
Documents, you can send the description
file as an attachment in an e-mail message. |
Click Upload.
The Upload File dialog
box is displayed.
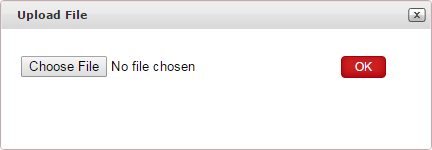
Click Choose
File, and select the HTML or PDF file to upload.
Click OK.
|
The Pictures
section is not relevant for guide contracts. |
Select the
Advanced Definitions expander.
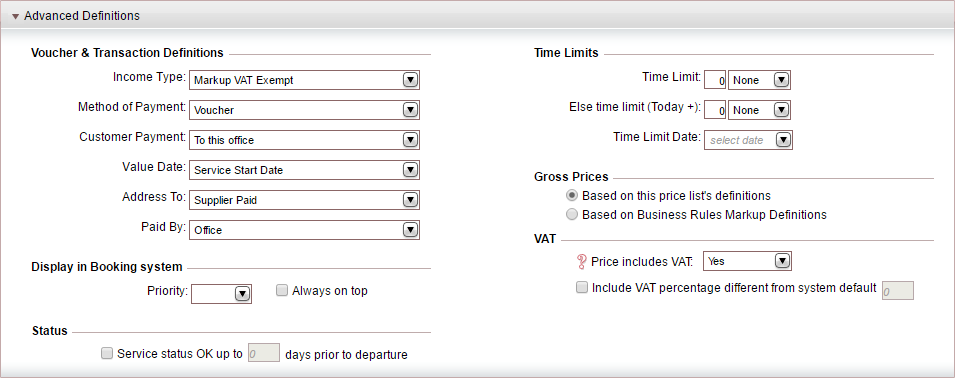
In the Voucher
and Transaction Definitions section, the fields are initialized
according to the definitions in the Supplier
Paid's supplier
account. However, you can edit these fields if necessary. Editing
the fields in the contract does not affect the definitions in the
supplier's account.
In the Display
in Booking System section, you can promote the guide in the
search results that appear in the Reservations System:
In the Status
section, if you want the guide to always be displayed as available,
select Service status OK up to X
days prior to departure, and enter the number of days prior
to the service start date in which the guide will be displayed on
request.
|
The Time Limits
section is not relevant for guide contracts. |
In the Gross
Prices section, select how to calculate the selling price:
Based on this
price list's definitions: Both
the net and selling price are taken from the price list during
the query process.
Based on
the Business
Rules Markup Definitions: The net price is taken from the
price list, and the business rules are added to it to create the
selling price.
In the VAT section:
|
This section is only relevant if you are working according
to the Sales
and Purchases accounting method. |
If the guide price includes VAT, in the Price Includes VAT field, select
Yes.
If the VAT percentage is different from the
system default, in the Include
VAT percentage different from system default field, enter
the correct VAT percentage.
Select the Price
List tab.
Click Save,
and continue to create
the price list for the guide contract.
Related links