![]()
Creating a new Yellowfin report requires an appropriate user role. For more information, contact your project manager.
|
Creating a new Yellowfin report requires an appropriate user role. For more information, contact your project manager. |
This topic explains how to create a new private Yellowfin report.
To create a private report, you will need to select the View which determines which information is collected and displayed in the report.
For a full list of available views, see: Yellowfin Views
In the Browse page, click the + button, and select Create - Report.
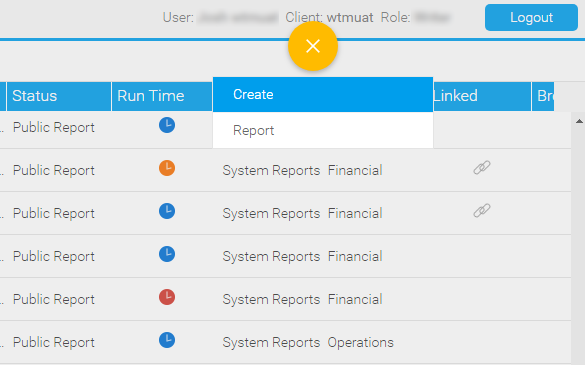
The Select View dialog box is displayed.
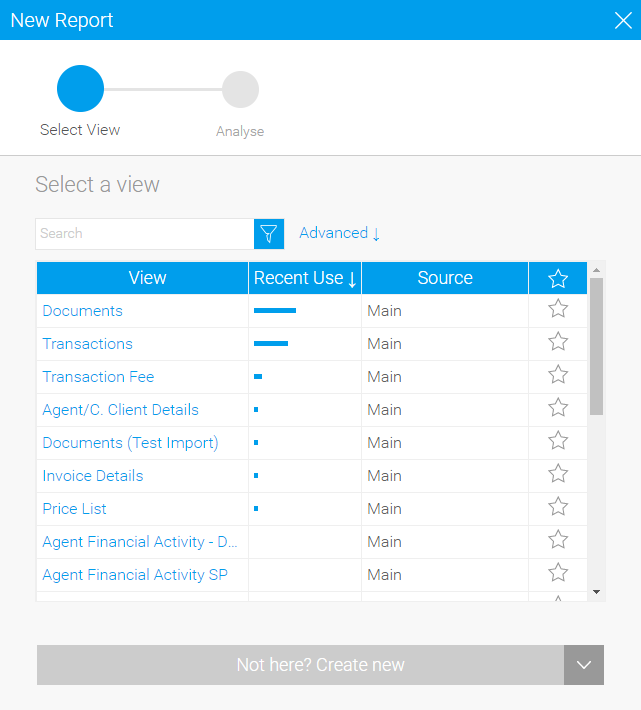
Click on the view you want to use for the new report.
The Data page is displayed.
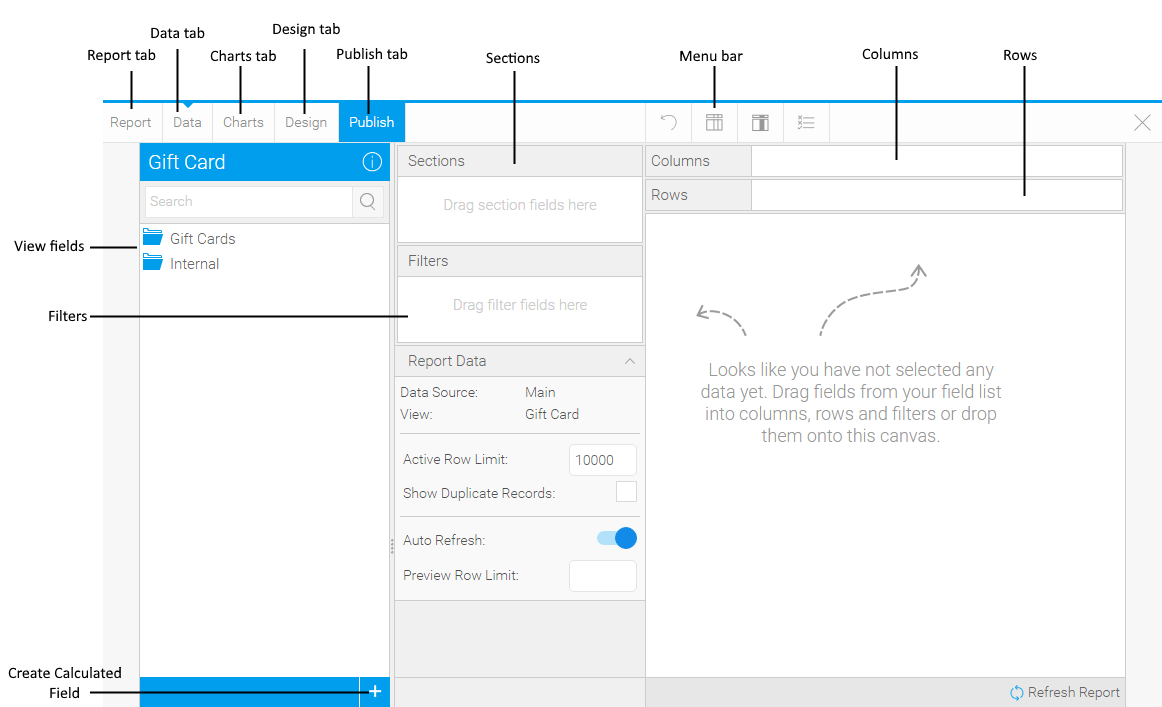
Find the field in the folders.
OR,
Search for the field you want to add.
Drag the filter to the correct position in the Filters pane/report columns.
|
After you add the first filter, the Advanced
Settings link
is displayed in the Filters pane, and the Filter Formatting button ( |
To move report filters/columns, in the Filters pane/report columns, drag the filter/column to the new position.
To remove report filters, drag the filter from the Filters pane columns.
To remove report
columns, in the report, in the column you want to remove,
click on the menu button (![]() ), and select Delete.
), and select Delete.
To add and remove report sections:
In Yellowfin you can add sections to reports. Sections are used to break up the report into smaller chunks. For example, in the Extended Travel Files report, you can have a separate section for each user, and for each user, you can have a section for the travel file status. You can have all the sections appear on the same page, in separate pages, or in separate tabs (See section formatting below).
To add sections, drag the field you want to use from the View Fields to the Sections section.
To remove a section, drag the field from the sections.
After you are done, use the menu bar to edit the report:
Menu bar option |
Description |
Click this button and select one of the following:
|
|
Click this button to open the Report Formatting pane in which you can customize how the entire report is formatted. These report formatting settings include:
For more information, see the Yellowfin online help. |
|
Click this button to open the Column Formatting pane in which you can format the individual columns in the report. To format a column, in the Report Fields, click on the desired column to view the formatting settings. The column formatting settings include:
For more information, see the Yellowfin online help |
|
Click this button to open the Conditional Formatting pane in which you can define conditional formatting rules for individual columns. For example, you can create a rule that if the Value Date is after the current date, the cell value will appear green. If the Value Date is before the current date, the cell value will appear red. For more information, see Creating conditional formatting rules. |
|
 |
Click this button to open the Filter Formatting pane in which you can edit the formatting of the Filters pane and the individual filters. The formatting options for the Filters pane include:
The formatting options for individual filters include:
For more information, see the Yellowfin online help. |
Click on this button to open the Section Formatting pane in which you can format the report sections. To format a section, in the Report Fields, click on the desired section to view the formatting settings. The section formatting settings include:
|
After you are done editing the report, go to the Design tab where you can check how the report will appear after it is generated.
|
If you have a chart, in the Design tab, you can drag the chart to move and resize it. |
To finalize the report, click on the Publishing tab.
The Save Report dialog box is displayed.
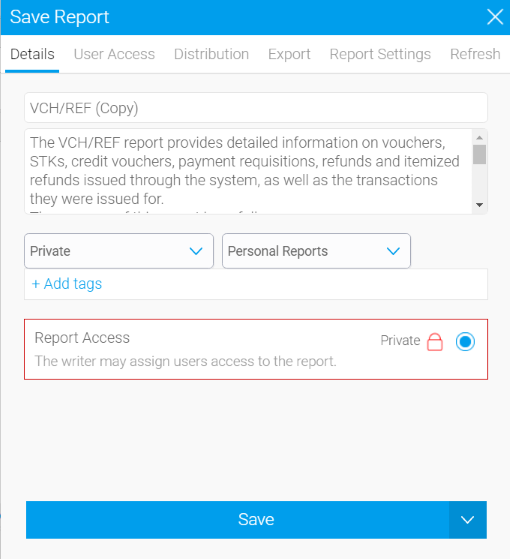
Use the tabs to define the publication settings for the report.
Publish tab |
Description |
| Details | In this tab you can define:
|
| User Access | N/A |
N/A |
|
| Export | In this tab you can define the file formats to which the report can be exported. |
| Report Settings | In this tab you can define whether the report will appear on the Browse page. |
| Refresh | N/A |
To publish the report, click Save.
A message appears asking if the contents require translation.
![]()
Click Yes.