To access and perform actions in the module:
Assign the permit Perform actions in Schedule Automatic Process module
To access and perform actions in the module: Assign the permit Perform actions in Schedule Automatic Process module |
This module includes mechanisms for scheduling and executing the following automatic processes in the system (each in its own expander):
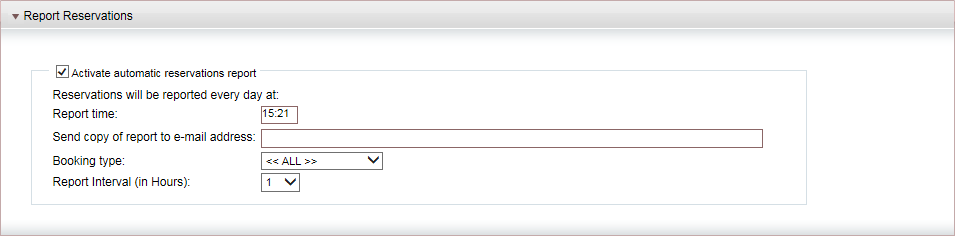
This mechanism sends a report detailing new, updated, and cancelled reservations to each relevant supplier.
Select the Activate automatic reservations report check box to activate this automatic mechanism.
In the Report time field, enter the time at which the report will be sent daily to suppliers (according to a 24-hour clock).
In the Send copy of report to e-mail address field, enter the e-mail address of an additional recipient (e.g. your company employee) of this report.
In the Travel File type field, select the reservations which will be included in the report (All, Exclude Allocations, or Allocations Only).
In the Report interval field, select the intervals for reporting.
Click Save.
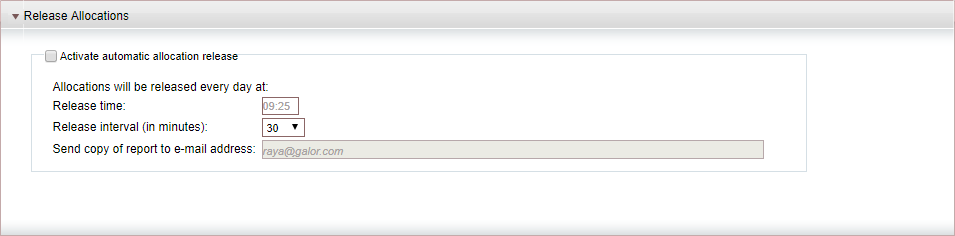
This mechanism will release (return back) products (e.g. hotel rooms) to a supplier according to the release terms in the product contract.
|
In the product contract, the Automatic Release check box must be selected in order for this mechanism to automatically release the products in the contract. |
Select the Activate automatic allocation release check box to activate this automatic mechanism.
In the Release time field, enter the time at which products without a specific release time will be released to suppliers (according to server time).
In the Release interval (in minutes) field, select how frequently allocations with a specific release time (UTC) will be released to suppliers.
In the Send copy of report to e-mail address field, enter the e-mail address of an additional recipient (e.g. your company employee) of this report.
Click Save.
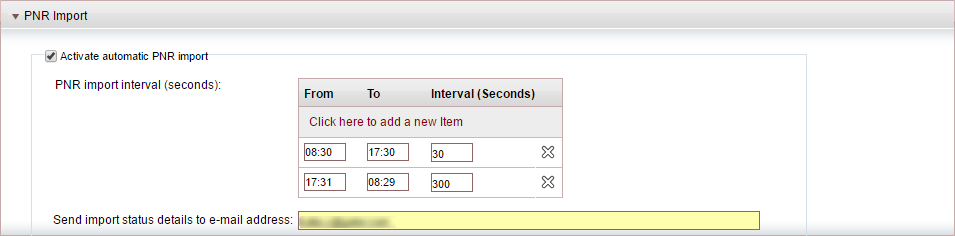
This mechanism imports PNR records from a queue in Amadeus into the Reservation System. When the PNR record imported is new, a travel file is created. When the PNR record imported already exists in the Reservation System, the travel file is updated.
Select the Activate automatic PNR import check box to activate this automatic mechanism.
Enter up to three PNR intervals. For each interval you can define a time range and the frequency in seconds in which the system will import PNRs from the Amadeus queue.
In the Send import status details to e-mail address field, enter the e-mail address of the recipient to which the report with PNR details will be sent.
Click Save.
|
In cases of overlap, the system will use the first interval period defined. If there is a time period for which no interval is defined, the system will request updates every 10 minutes during that period. |

This mechanism is relevant for the Sabre GDS only and is used to handle PNR records.
Contact your Project Manager for instructions on how to implement this mechanism.
Contact your Project Manager for instructions on how to implement this mechanism.
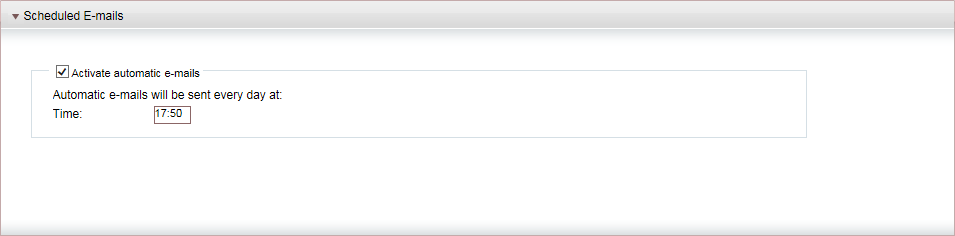
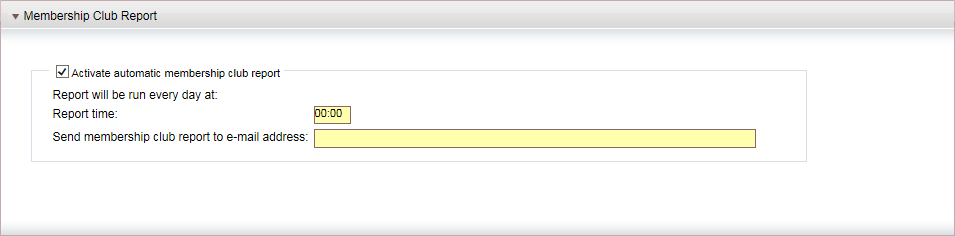
This mechanism sends the automatic e-mails that are defined in the E-mail Engagement Rules module.
Select the Activate automatic e-mails check box to activate this automatic mechanism.
In the Time field, enter the time at which the e-mails will be sent daily (according to a 24-hour clock)
Click Save.
This mechanism automatically cancels reservations in travel files that have an option date that occurs before the current day.
If the Automatic Cancellation mechanism is activated:
Every day, at a defined hour the system cancels all reservation in travel files that have an option date which takes place before the current day.
If all of the reservations are successfully cancelled in a travel file:
The travel file is added to a queue for cancelled travel files.
The option date is reset in the travel file
The option date is no longer selected as active
If relevant, the travel file is removed from the queue for failed cancellations
If not all the reservations are successfully cancelled, the travel files is added to a queue for failed cancellations.
Reservations are not cancelled, if one of the following conditions are met:
A voucher was issued for the transaction
A credit invoice was issued for the transaction
A cash invoice was issued for the transaction, and the cash invoice is fully covered by a receipt
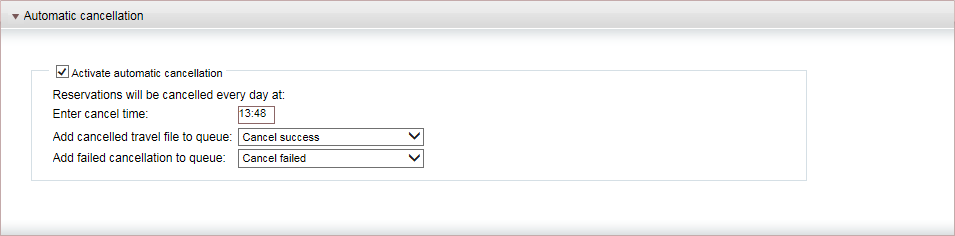
To automatically cancel reservations, select Activate automatic cancellation.
In the Enter cancel time field, enter the time in which the travel files are cancelled.
In the Add cancelled travel file to queue field, select the queue for cancelled travel files from the drop-down list.
In the Add failed cancellation to queue field, select the queue for failed cancellations.
Click Save.
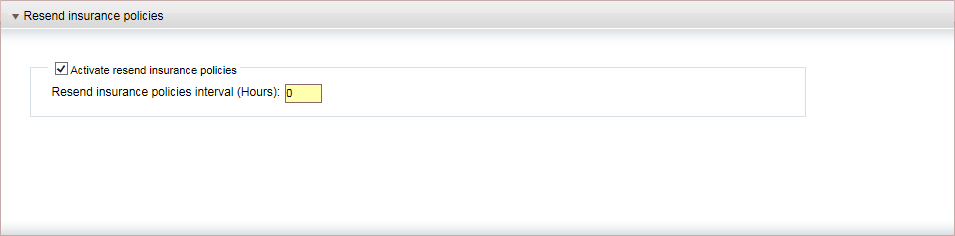
This mechanism is used to automatically resend insurance policies that the system was unable to send to the supplier. By default, when an insurance policy is issued it is automatically sent to the supplier. However, if the system is unable to send the insurance policy at the time, the system saves the insurance policy, and automatically resends all such failed insurance policies at a fixed interval when this mechanism is activated.
Select Activate resend insurance policies.
In the Resend insurance policies interval (hours) field, enter the interval in hours in which the system resends the insurance policies.
![]()
This mechanism is used to automatically refresh and export accounting transactions from the system. The accounting transactions can be refreshed and exported every day at a fixed hour to an FTP folder and/or to a specific e-mail address as a CSV or TSV file. Up to 1,000 transactions can be included in the file, if there are more than 1,000 transactions, additional files are created.
If the system is unable to export the files to the FTP folder, it will e-mail the files to the address you specify.
In addition a separate CSV or TSV file is created with the travel file numbers for the travel files that were created since the last refresh and export from the system.
After the files are exported, the system will send an e-mail notification to the address you specify detailing the amount of transactions that were exported and how many succeeded and failed, and a separate e-mail message listing the travel file account numbers that were exported.
|
You cannot manually run the refresh and export process through the Export Data to General Ledger module, if the automatic process is already running. |
Select Activate and export accounting transactions.
In the Accounting transactions will be exported every day at, enter the time in which the accounting transactions will be refreshed and exported from the system.
In the FTP URL field, enter the URL of the FTP folder.
In the FTP user name field, enter the user name for accessing the FTP folder.
In the FTP Password field, enter the password for accessing the FTP folder.
In the FTP file directory field, enter the FTP file directory to which the file(s) will be exported.
In the E-mail address field, enter the e-mail address to which the file(s) will be sent, and to which the e-mail notification is sent when the process is completed.
In the File Format field, select the file format for the exported file(s): CSV or TSV.
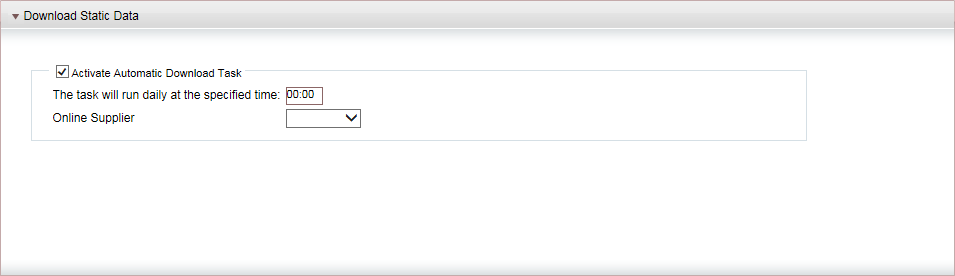
This mechanism is used for automatically downloading hotel static data files into the system from an FTP server. These files are used for updating hotel information and descriptions displayed in the search results.
This mechanism is supported for iVector.
Select Activate Automatic Download Task.
Enter the time in which the static data should be downloaded.
In the Online Supplier field, select iVector.
This mechanism allows you to automatically import on a daily basis a file transmitted by Credit2000 or CreditGuard from an FTP server. After the file is imported into the system it is copied to a backup folder on the FTP server. Each row in the file contains a transfer receipt (TRC) or remittance (RMT) issued as a refund to the customer. The system automatically matches between rows in the file and existing records in the system according to the following parameters:
Token
Amount
Number of installments
Currency
Confirmation number
If there is a match in all parameters, the bank reference is automatically updated in the system with the reference number included in the file.
With debit rows the reference number is updated on the receipt and transfer receipt and with credit rows the number is updated on the remittance.
If a reference number already exists in the system, it will not be overridden by the transmitted file. Records that do not fully match or already have an existing reference number in the system are copied to an error log where they can be dealt with manually through the Update Bank Reference module for transfer receipts and the Payment Book module for remittances.
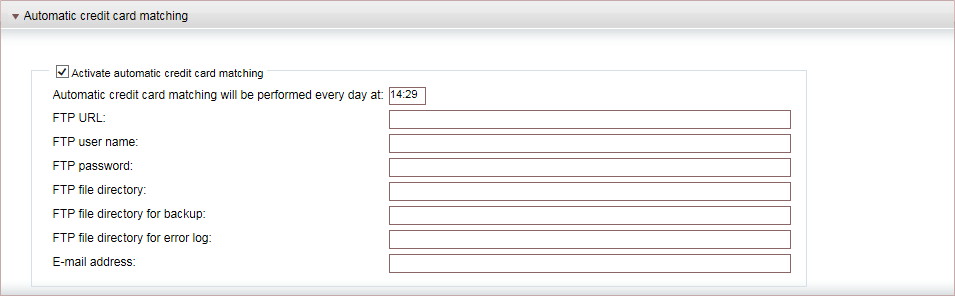
Select Activate automatic credit card matching.
In the Automatic credit card matching will be performed every day at field enter the hour in which the file is imported.
In the FTP URL field, enter the URL of the FTP server.
In the FTP user name field, enter the user name for accessing the FTP folder.
In the FTP Password field, enter the password for accessing the FTP folder.
In the FTP file directory field, enter the FTP file directory from which the file will be imported.
In the FTP file directory for backup field, enter the FTP file directory to which the file will be backed up.
In the FTP file directory for error log field, enter the FTP file directory in which the error log will be created.
In the E-mail address field, enter the e-mail address to which a notification will be sent when the process is completed.
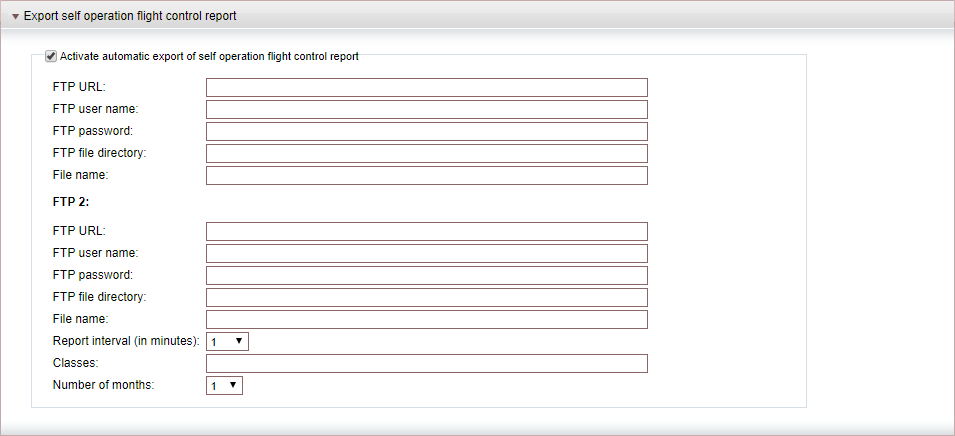
This mechanism allows you to automatically export to two FTP folders a report containing information on the current number of available seats in Self-operation Flights. The report is exported as a txt file.
The report does not include information on self-operation flights with the status No-Sale.
Select Activate automatic export of self operation flight control report.
For each FTP folder enter the following information:
FTP URL
FTP user name
FTP password
FTP file directory
File name
In the Report interval (in minutes) field, select the interval in minutes in which the report will be generated. Each time the report is generated, the new report overwrites the existing report in the FTP folder.
In the Classes field, enter the classes which the report will return information on. The classes should be separated by a comma (,) or semi-colon (;). Flights with classes not included this field, our displayed in the report without class details.
In the Number of months field, select the number of months forward on which the report will run. The report runs until the end of the current month + the number of months you select in this field. For example, if you select 3 and the current date is April 02, the report will return flights from April 02-July 31.

 Click here for a detailed example.