Go to Setup – Business Environment - Supplier Accounts.
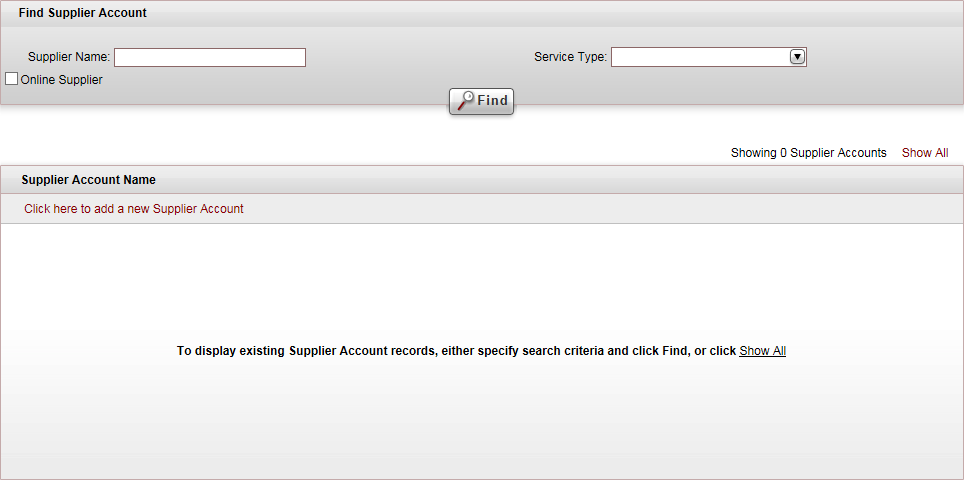
Click Click here to add a new supplier account.
A New Item page opens.
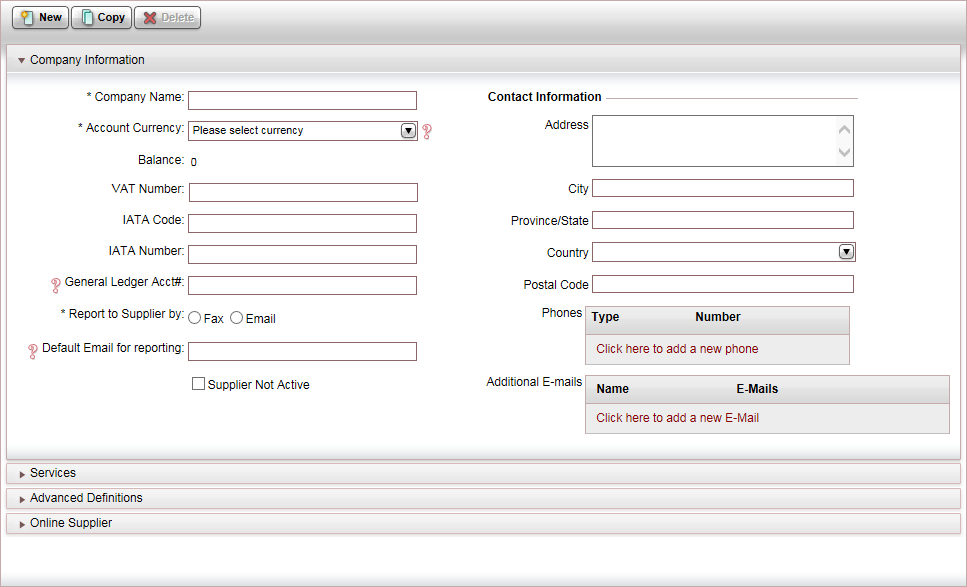
Mandatory. In the Company Information expander, in the Company name field, enter the name of the supplier.
Mandatory. In the Account Currency field, select the currency in which the account is managed.
|
You can add a new currency, by clicking <New Currency...> |
|
Once financial documents (invoice, receipt, transfer receipt, etc.) have been issued for the supplier, you will no longer be able to change the Account Currency. If you need to change the currency, you are going to need to create a new supplier account with the new currency. |
If relevant: Change the supplier who is paid for services in the supplier account.
If relevant: Provide the supplier with access and permits to a dedicated B2S site.
If relevant: Enable vouchers from the supplier to be matched in the Automatic Reconciliation module
For online suppliers only, set up the online interface.