In the Reservations System Dashboard, click the Tools button, and select Gift Card.
The Gift Card page is displayed
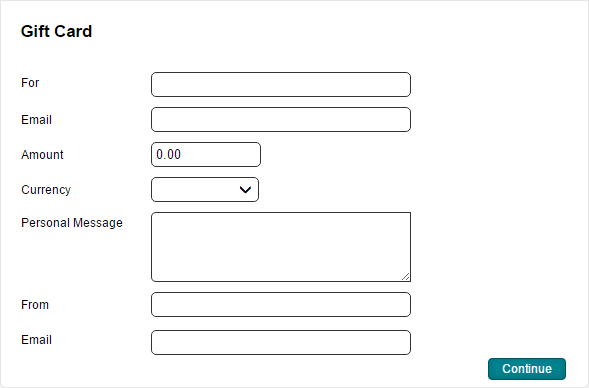
In the For field, enter the name of the gift card recipient.
In the E-mail field, enter the e-mail address of the gift card recipient.
In the Amount field, enter the gift card amount.
In the Currency field, select the currency of the gift card from the drop-down list.
In the Personal Message field, enter message text that will be printed on the gift card.
In the From field, enter the name that will be displayed in the From field on the printed gift card.
In the E-mail field, enter the e-mail address of the customer purchasing the gift card.
Click Continue.
The receipt definitions page is displayed.
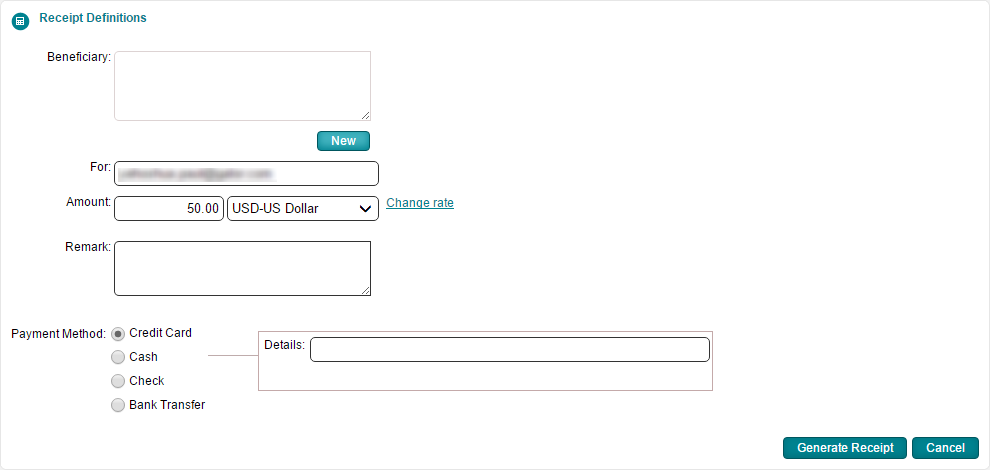
Enter the receipt definitions:
Field |
Description |
Beneficiary |
Click New to enter a beneficiary to be displayed on the receipt. |
For |
This field is initialized with the name you entered in the Issue Gift Card page, in the From field. If necessary, edit the name to be displayed on the For field in the receipt. |
Amount |
The amount is initialized with the amount and currency you defined for the gift cards. If necessary these can be edited. If relevant, *change the currency rate. This action is dependent on the relevant user permit. |
Remark |
Enter a remark to be displayed at the bottom of the receipt.. |
|

 Click here for more information
on changing the currency rate.
Click here for more information
on changing the currency rate.
In the Payment Method field, select one of the following forms of payment:
To generate the receipt, click Generate Receipt.
Credit Card
Cash: In the Details field, enter free text associated with the payment.
Check: You can pay in installments using checks, and a receipt can be issued for multiple checks. Each row in the table represents a single check.
In the Bank field, enter the name of the bank that appears on the check.
In the Branch field, enter the branch number that appears on the check.
In the Account field, enter the account number that appears on the check.
In the Check number field, enter the check number that appears on the check.
In the Amount field, enter the amount of the check.
In the Value date field, select the date that appears on the check.
To add a new check, click Click here to add a new item.
A new row appears where you can enter the check details.
To copy a check, in the row of the check you want to copy, click the Copy icon

A new row appears with the same details as the previous check, the check number and month are advanced by one.
To delete a check, click the Delete icon
 .
.
Bank Transfer:
In the Bank field, enter the name of the bank from which the payment will be transferred.
In the Branch field, enter the branch number from which the payment will be transferred.
In the Account field, enter the account number from which the payment will be transferred.
In the Reference field, enter the reference number of the transfer.
In the Value date field, select the date of the transfer.
In the Receiving Bank field, select the bank account receiving the transfer from the drop-down list. The bank accounts displayed are those managed with the receipt currency.
Each check is displayed as a separate row in the receipt, and in the cashier module.
The gift card is displayed. The gift card details are also sent automatically to the gift card recipient's e-mail address.
If required, click Display Receipt in order to view and print the receipt.