![]()
You can also define in the Car tab, in the Advanced Definitions section, that services be sold as OK up to X days prior to departure, in which case no allocations need to defined.
This topic explains how to add a new allocation to a car contract.
An allocation can be a limited quantity of tickets given to the travel company by the reserving supplier or service provider to sell to customers, or an unlimited amount if a freesale agreement was negotiated. When a contract has an allocation, the service is displayed with OK status in the Reservation System search results.
|
You can also define in the Car tab, in the Advanced Definitions section, that services be sold as OK up to X days prior to departure, in which case no allocations need to defined. |
An activity allocation agreement includes the following:
A quantity of tickets (or unlimited for freesale) allocated to your company (defined in this tab).
The method by which reservations are reported to the supplier, which is done through various automatic or manual processes offered by the system.
|
There are no release terms for car allocations. If the supplier requires you for any reason to return allocations, you will need to define that the activity is sold on request from a date you specify. |
You need to define separate allocations for each price level in the contract.
Allocations are defined separately for each service date. After you define the allocation for a single date, you can create multiple copies of the allocation for each date granted to you by the supplier.
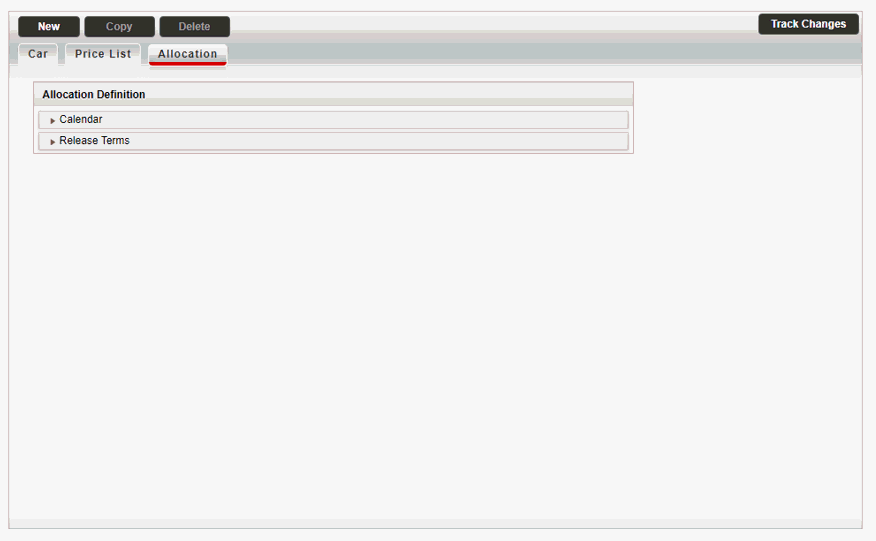
In the contract, select the Allocation tab.

Click on the Calendar expander.
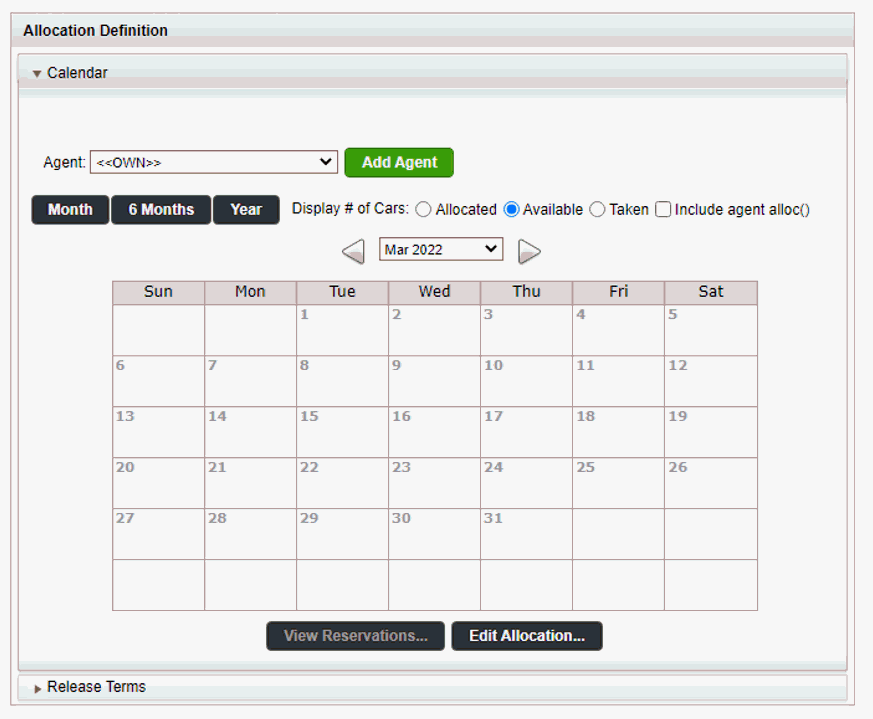
The Calendar expander is displayed.

In the Agent field, select an agent from the drop-down, then click on the Add Agent button.
Select Month, 6 Months or Year display, and then mark the reservation date on the calendar.
Select Display # of Cars for Allocated, Available or Taken. Select Include agent alloc () if relevant.
Select View Reservations to see the reservation.
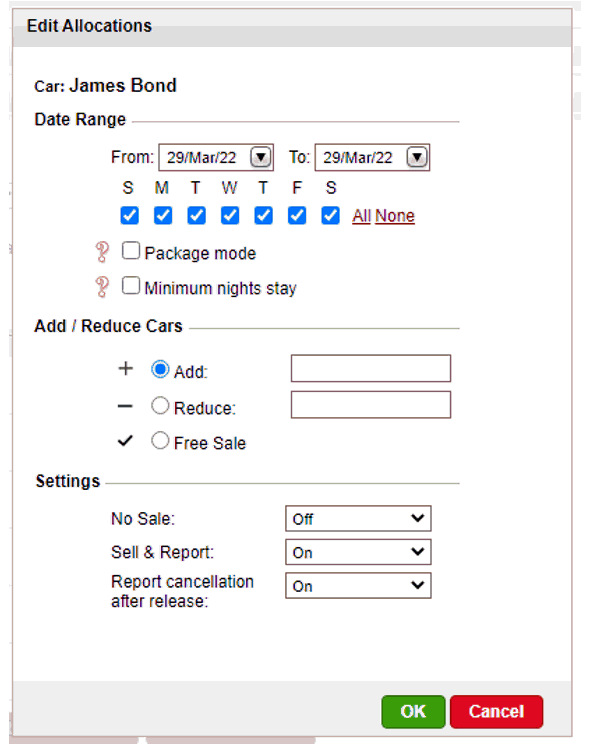
Select Edit Allocation if you want to edit the allocation. A new dialog will be displayed.

In the Release Terms expander, enter the release period. You can add a complementary release period and add a remark in the Remark field. If you prefer automatic release, click on the Automatic Release button.
Click Save.